Imagine you need to securely expose an **internal application **to a specific group of users in your organization so they can access it from anywhere in the world.
How would you do it?
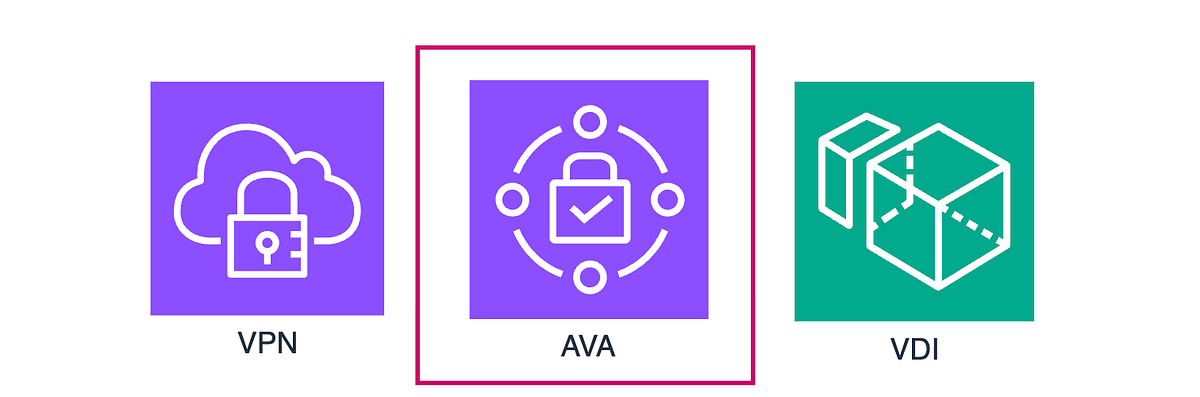
Your first thought might be a VPN or maybe VDI (Virtual Desktop Infrastructure). And yes, those are common approaches.
But what if I told you there’s a more modern, secure, and scalable way to do this without the usual overhead?
In this article, I’ll walk you through AWS Verified Access (AVA) and show you how you can use it to expose an internal application that sits behind an internal load balancer.
Can’t we just use a VPN or VDI?
Absolutely, you can. VPNs and VDI are common ways to let users access internal applications from outside your network.
But as always, there are a few things to consider.
Let’s take a VPN as an example.
A VPN creates a secure, encrypted tunnel between your device and a remote network. For instance, you can use AWS Client VPN to access resources inside your VPC.
Sounds great, right?
The catch is that a VPN typically verifies your identity only when the connection is established. Once you’re connected, you’re essentially trusted within the network and can access resources more broadly.
And that’s where the problem lies. This model goes against the Zero Trust principle, where no user or device should be trusted by default, even after authentication.
What about VDI?
VDI (Virtual Desktop Infrastructure) is actually a great option for securely accessing internal resources from outside your network.
Unlike a VPN, which extends your network to your local machine, VDI keeps everything running on a remote machine and simply streams the “screen” to your device. That makes it inherently more secure than a traditional VPN setup.
So why not just use VDI? Well, there are a few trade-offs.
The biggest challenges are scalability, cost, and performance. If you have a group of users who need access, you typically have to provision a separate virtual desktop for each of them.
That quickly becomes expensive and harder to scale.
On top of that, setting up and managing VDI environments can take time, often involving multiple teams. And depending on the setup, users may also experience some latency or sluggishness.
A Better Zero-Trust, Scalable Solution
This is where** AWS Verified Access (AVA)** comes into the picture.
At its core, AVA is about providing granular, application-level access while keeping things simple from a networking perspective.
With Verified Access, you can define fine-grained policies for each application. Instead of granting broad network access, you control exactly who can access what.
And this is where it really stands out.
AVA follows a Zero Trust Network Access model, meaning every single request is evaluated against a centralized policy rather than trusting a user after a one-time authentication like in a VPN.
But it doesn’t stop at identity.
Verified Access can also evaluate** device posture**. For example, you can enforce checks like whether the user belongs to a specific Identity Center group, whether their device has antivirus installed, or whether it’s up to date with the latest patches.
In short, you’re not just trusting the user you’re continuously verifying both the user and their device.
AVA in action
Let’s look at how this works in practice.
In my setup, I have an internal architecture where I need to establish trust for every user request. There’s an internal Application Load Balancer (ALB) and a Lambda function running inside a VPC. The Lambda function queries an OpenSearch index and returns dynamic HTML with populated data.
Now, let’s walk through how I set this up using AWS Verified Access.
Step 01: Create a Verified Access Trust Provider
To get started, we need to configure a few core components, one of them being the Trust Provider.
In my case, I used IAM Identity Center.
This means I don’t have to manage a separate user directory using something like Amazon Cognito or any external identity provider.
Step 02: Create a Verified Access Instance
Once the trust provider is in place, the next step is to create a Verified Access instance.
This is where you can also configure additional compliance settings, such as enabling FIPS if needed.
Step 03: Create a Verified Access Group
Next, I created a Verified Access group and associated it with the instance.
This is where things get interesting, you define access policies for your application using a policy language called Cedar.
Cedar Policy
Cedar is an open-source, human-readable, and flexible policy language developed by AWS. It supports both **role-based **and attribute-based access control.
For this demo, I kept things simple and used an attribute-based policy.
Identity Center Groups
Within Identity Center, I have several user groups (including default ones). For this application, I only allow users in the Mjzone-Admin group.
I referenced this group in my Cedar policy so that only users belonging to this group can access the application.
Step 04: Create a Verified Access Endpoint
Now it’s time to expose the application.
I created a Verified Access endpoint and pointed it to the internal load balancer.
Now my setup is as follows:
- AVA connects to the internal ALB over HTTP (since TLS termination happens at the AVA endpoint)
- I attached a **security group **to allow communication between AVA and the ALB
- I also associated a TLS certificate at the AVA endpoint so users can access the app securely over the internet
I configured a domain prefix (mjzone), which allows me to access the application via a custom domain.
https://mjzone.mjfernando.com
Step 05: Create a Route53 CNAME Record
Finally, I created a CNAME record in Route 53.
This maps my custom domain (e.g mjzone.mjfernando.com) to the Verified Access endpoint domain generated by AWS.
And that’s it. The setup is complete.
Accessing the Application
Now for the interesting part.
When I try to access the application from a browser, I’m first redirected to the Identity Center login page (since I’m not authenticated yet).
After logging in with a user who belongs to the Mjzone-Admin group, I can successfully access the application.
The Lambda function fetches data from OpenSearch and renders the page dynamically.
But here’s where** Zero Trust** really shines.
When I try logging in with a user from a different group, I get a 403 Unauthorized error.
Access denied. Exactly as expected.
By now, you can see how AWS Verified Access enables secure, fine-grained access to internal applications without relying on VPNs, and with a much stronger security model.
Cheers!
 Enlear