//
AWS Enlear
Authentication vs Authorization in AWS Amplify
EnlearAuthentication vs Authorization in AWS Amplify
Why Permissions Feel Confusing in Amplify
June 25, 20267 min readRead
PDFs Generate with Puppeteer and Amazon S3 Learn how to use Puppeteer with Amazon S3 Bucket to generate PDFs, screenshots, and store files securely in AWS. Many teams need a simple way to generate …
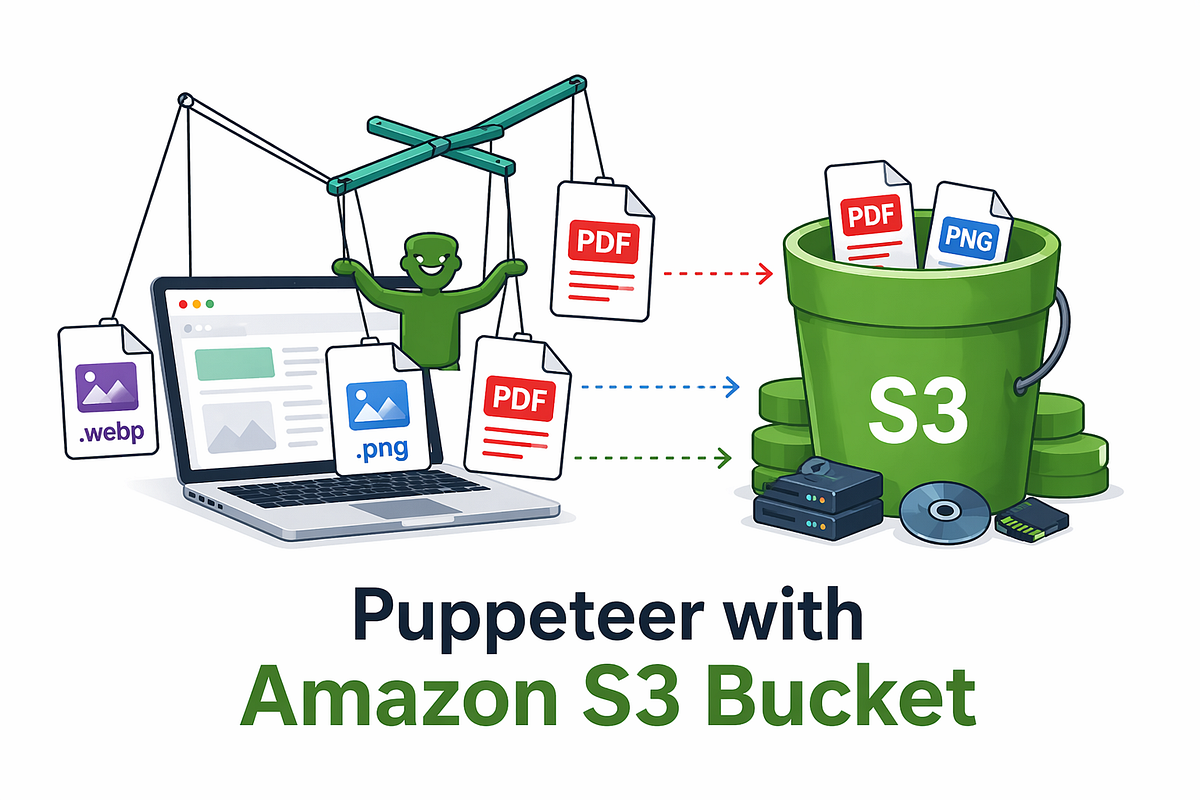
Learn how to use Puppeteer with Amazon S3 Bucket to generate PDFs, screenshots, and store files securely in AWS.
Many teams need a simple way to generate PDFs or screenshots and store them somewhere reliable. That is where Puppeteer with Amazon S3 Bucket becomes useful. Puppeteer browser automation helps create files from web pages, while an Amazon S3 bucket gives you a scalable place to store and access them. Together, they support practical workflows for document generation and storing a file in AWS S3.
This setup is useful for engineering teams building reports, invoices, dashboards, screenshots, or user-facing documents. It also works well for backend services that need to create files without human input. Instead of generating files locally and managing storage yourself, you can automate the full flow from browser rendering to cloud upload.
Puppeteer is a Node.js library for browser automation. It can launch Chromium, open pages, click buttons, fill forms, take screenshots, and create PDFs. That makes it a strong choice for teams that need reliable Puppeteer automation in backend workflows.
Common Puppeteer browser automation uses cases include:
For this article, the most important use case is file creation. Puppeteer can turn a page, dashboard, invoice, or HTML template into a screenshot or PDF. After that, you can store the result in AWS.
Amazon S3 is AWS’s object storage service. It stores files as objects inside buckets and is designed for durability, scalability, and easy access control. When people talk about an Amazon S3 bucket, they usually mean the place where those objects live.
Common Amazon S3 use cases include:
For teams working with generated files, S3 is a practical storage layer. It handles file storage, naming, retrieval, permissions, and lifecycle management without forcing you to manage your own file server.
Puppeteer and S3 solve two different parts of the same problem. Puppeteer handles document generation, and S3 handles storage, access, and organization. That makes the combination simple and effective.
A typical flow looks like this: render a page with Puppeteer, generate a PDF or screenshot, then upload that output to an Amazon S3 bucket. This is useful for invoices, reports, screenshots, certificates, exported dashboards, and other generated web documents.
It also helps when files need to be shared later. Once a file is in S3, you can keep it private, attach metadata, organize it by folder-like keys, and generate signed URLs for controlled access.
npm install puppeteer
Then launch the browser and open a page.
const puppeteer = require('puppeteer');async function run() { const browser = await puppeteer.launch(); const page = await browser.newPage(); await page.goto('https://example.com', { waitUntil: 'networkidle' }); await browser.close();}run();
This is the foundation of any Puppeteer setup. From here, you can create screenshots, render PDFs, or interact with dynamic content before saving the result.
If you are deploying in serverless environments later, your setup may need extra work for Chromium compatibility. But for local development, this is enough to get started.
Puppeteer makes screenshot generation simple. You load the page, wait for it to finish rendering, and call page.screenshot().
const puppeteer = require('puppeteer');async function generateScreenshot() { const browser = await puppeteer.launch(); const page = await browser.newPage(); await page.goto('https://example.com', { waitUntil: 'networkidle' }); await page.screenshot({ path: 'example.png', fullPage: true }); await browser.close();}generateScreenshot();
This is useful for dashboard captures, visual archives, UI previews, and monitoring snapshots. It is one of the simplest ways to use Puppeteer automation in a real workflow.
Puppeteer is also widely used for PDF-based document generation. It can render HTML or live pages as printable documents.
const puppeteer = require('puppeteer');async function generatePdf() { const browser = await puppeteer.launch(); const page = await browser.newPage(); await page.goto('https://example.com/invoice', { waitUntil: 'networkidle' }); await page.pdf({ path: 'invoice.pdf', format: 'A4', printBackground: true, margin: { top: '20px', right: '20px', bottom: '20px', left: '20px' } }); await browser.close();}generatePdf();
You can customize layout, margins, print backgrounds, and page size. That makes Puppeteer useful for invoices, summaries, reports, and branded customer documents.
To store generated files, you need an Amazon S3 bucket. In AWS, create a bucket with a clear name, choose the right region, and keep public access blocked unless you have a strong reason not to.
After that, set up IAM permissions carefully. Your application should only get the permissions it needs, such as s3:PutObject for uploads and s3:GetObject if it needs to read files later. Avoid broad permissions when a narrow policy will work.
It also helps to decide early how files will be organized. For example, you might upload files with keys like:
invoices/2026/04/invoice-123.pdfscreenshots/dashboard/homepage.pngreports/monthly/team-a-report.pdfThis keeps the bucket easier to manage as the number of files grows.
This is the core of the workflow. After creating a file with Puppeteer, the next step is Puppeteer file upload to S3 using the AWS SDK.
First, install the S3 client:
npm install @aws-sdk/client-s3
Then upload the generated file.
const fs = require('fs');const { S3Client, PutObjectCommand } = require('@aws-sdk/client-s3');const s3 = new S3Client({ region: 'us-east-1' });async function uploadPdfToS3() { const fileBuffer = fs.readFileSync('invoice.pdf'); const command = new PutObjectCommand({ Bucket: 'your-bucket-name', Key: 'invoices/invoice.pdf', Body: fileBuffer, ContentType: 'application/pdf' }); await s3.send(command); console.log('Upload complete');}uploadPdfToS3();
This pattern works for screenshots too. Just change the file path, key, and content type. If you prefer, you can upload a buffer directly instead of saving the file first.
A clean Puppeteer file upload to S3 flow usually includes:
A good workflow is not just about upload success. It is also about how you manage the file after upload. That is why storing a file in AWS S3 should follow a few practical rules.
First, keep file sizes reasonable. Large screenshots and PDFs take longer to upload and can create timeouts in serverless systems. Compress or optimize files where possible.
Second, use clear object naming. A key like reports/2026/april/team-a.pdf is far easier to manage than random filenames. This matters even more when teams need to trace files later.
Third, add metadata when it helps. Metadata can store document type, user ID, report ID, or generation date. That can make later processing easier.
Fourth, control access carefully. Most generated files should stay private by default. If users need access, use signed URLs instead of making the whole bucket public.
Puppeteer with S3 is practical, but a few common issues appear often in real systems.
One issue is Chromium compatibility in serverless environments. Local Puppeteer setup may work well, but AWS Lambda or containerized deployments may need special browser binaries, launch flags, or memory settings.
Another issue is timeout behavior. PDF generation can take longer than expected if the page loads heavy scripts, large images, or external fonts. In those cases, the process may fail before the upload even begins.
IAM permission errors are also common. If your app cannot upload to the Amazon S3 bucket, check the IAM role, bucket policy, and region configuration first.
You may also see broken PDF styling, missing fonts, or incomplete screenshots. That often happens when the page depends on client-side rendering or external assets that did not load fully. Waiting for the right event and testing print-specific CSS can help.
For uploads, retry logic matters. A failed upload should not always fail the whole workflow immediately. Simple retry handling can reduce temporary network or service-related errors.
Security matters from the start. If your workflow creates customer documents, invoices, or internal reports, those files should not be exposed carelessly.
Use IAM least privilege. Give the app only the permissions it needs for storing a file in AWS S3 and reading files when necessary. Avoid wildcard access when you can scope permissions to one bucket or path pattern.
Use encryption for sensitive files. S3 supports server-side encryption, which is a good default for most production systems. Signed URLs are also useful when files should be shared only for a short time.
In production, logging and monitoring help a lot. Track file generation failures, upload failures, timeouts, and unusual retries. If this workflow runs in Lambda, also watch memory use, duration, and concurrency limits.
Using Puppeteer with Amazon S3 Bucket helps automate file generation and cloud storage in one workflow. Puppeteer creates PDFs, screenshots, and other web-based files, while S3 stores them securely and at scale. With the right setup, permissions, and upload logic, teams can build a reliable automation pipeline. It is a practical starting point for any system that already generates HTML or document-based content.
LinkedIn: https://www.linkedin.com/in/pathumscj
A version of this article was first published on May 26, 2026 on Medium.
EnlearWhy Permissions Feel Confusing in Amplify
EnlearAWS DynamoDB Eventual Consistency VS Strong Consistency Amazon DynamoDB reads data from tables, local secondary indexes (LSIs), global secondary indexes (GSIs), and streams. Both tables and LSIs …
EnlearWhat Is Amazon EC2? A Beginner’s Guide to Virtual Servers in AWS Amazon EC2 (Elastic Compute Cloud) is a service that provides virtual servers, called instances, in the cloud. You can choose the …